
Renew old chairs and turn in beautiful vintage chairs with low budget
RENEW OLD CHAIRS AND TURN THEM IN BEAUTIFUL VINTAGE CHAIRS WITH LOW BUDGET

Here we are with a new project.
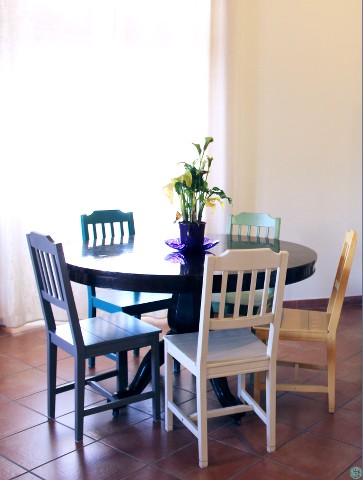
It all started when I made the last move. In the new diving room I had an ancient table (about 800) but I had no chairs!
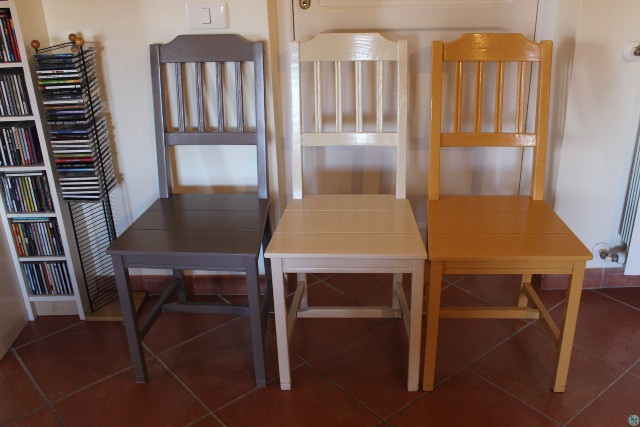
Among other things, my idea was to have chairs that was all different soft colors.
Not finding them, I decided that I would try to make them myself.
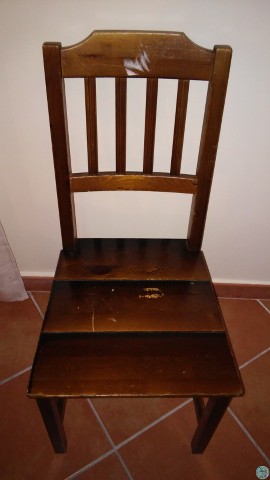
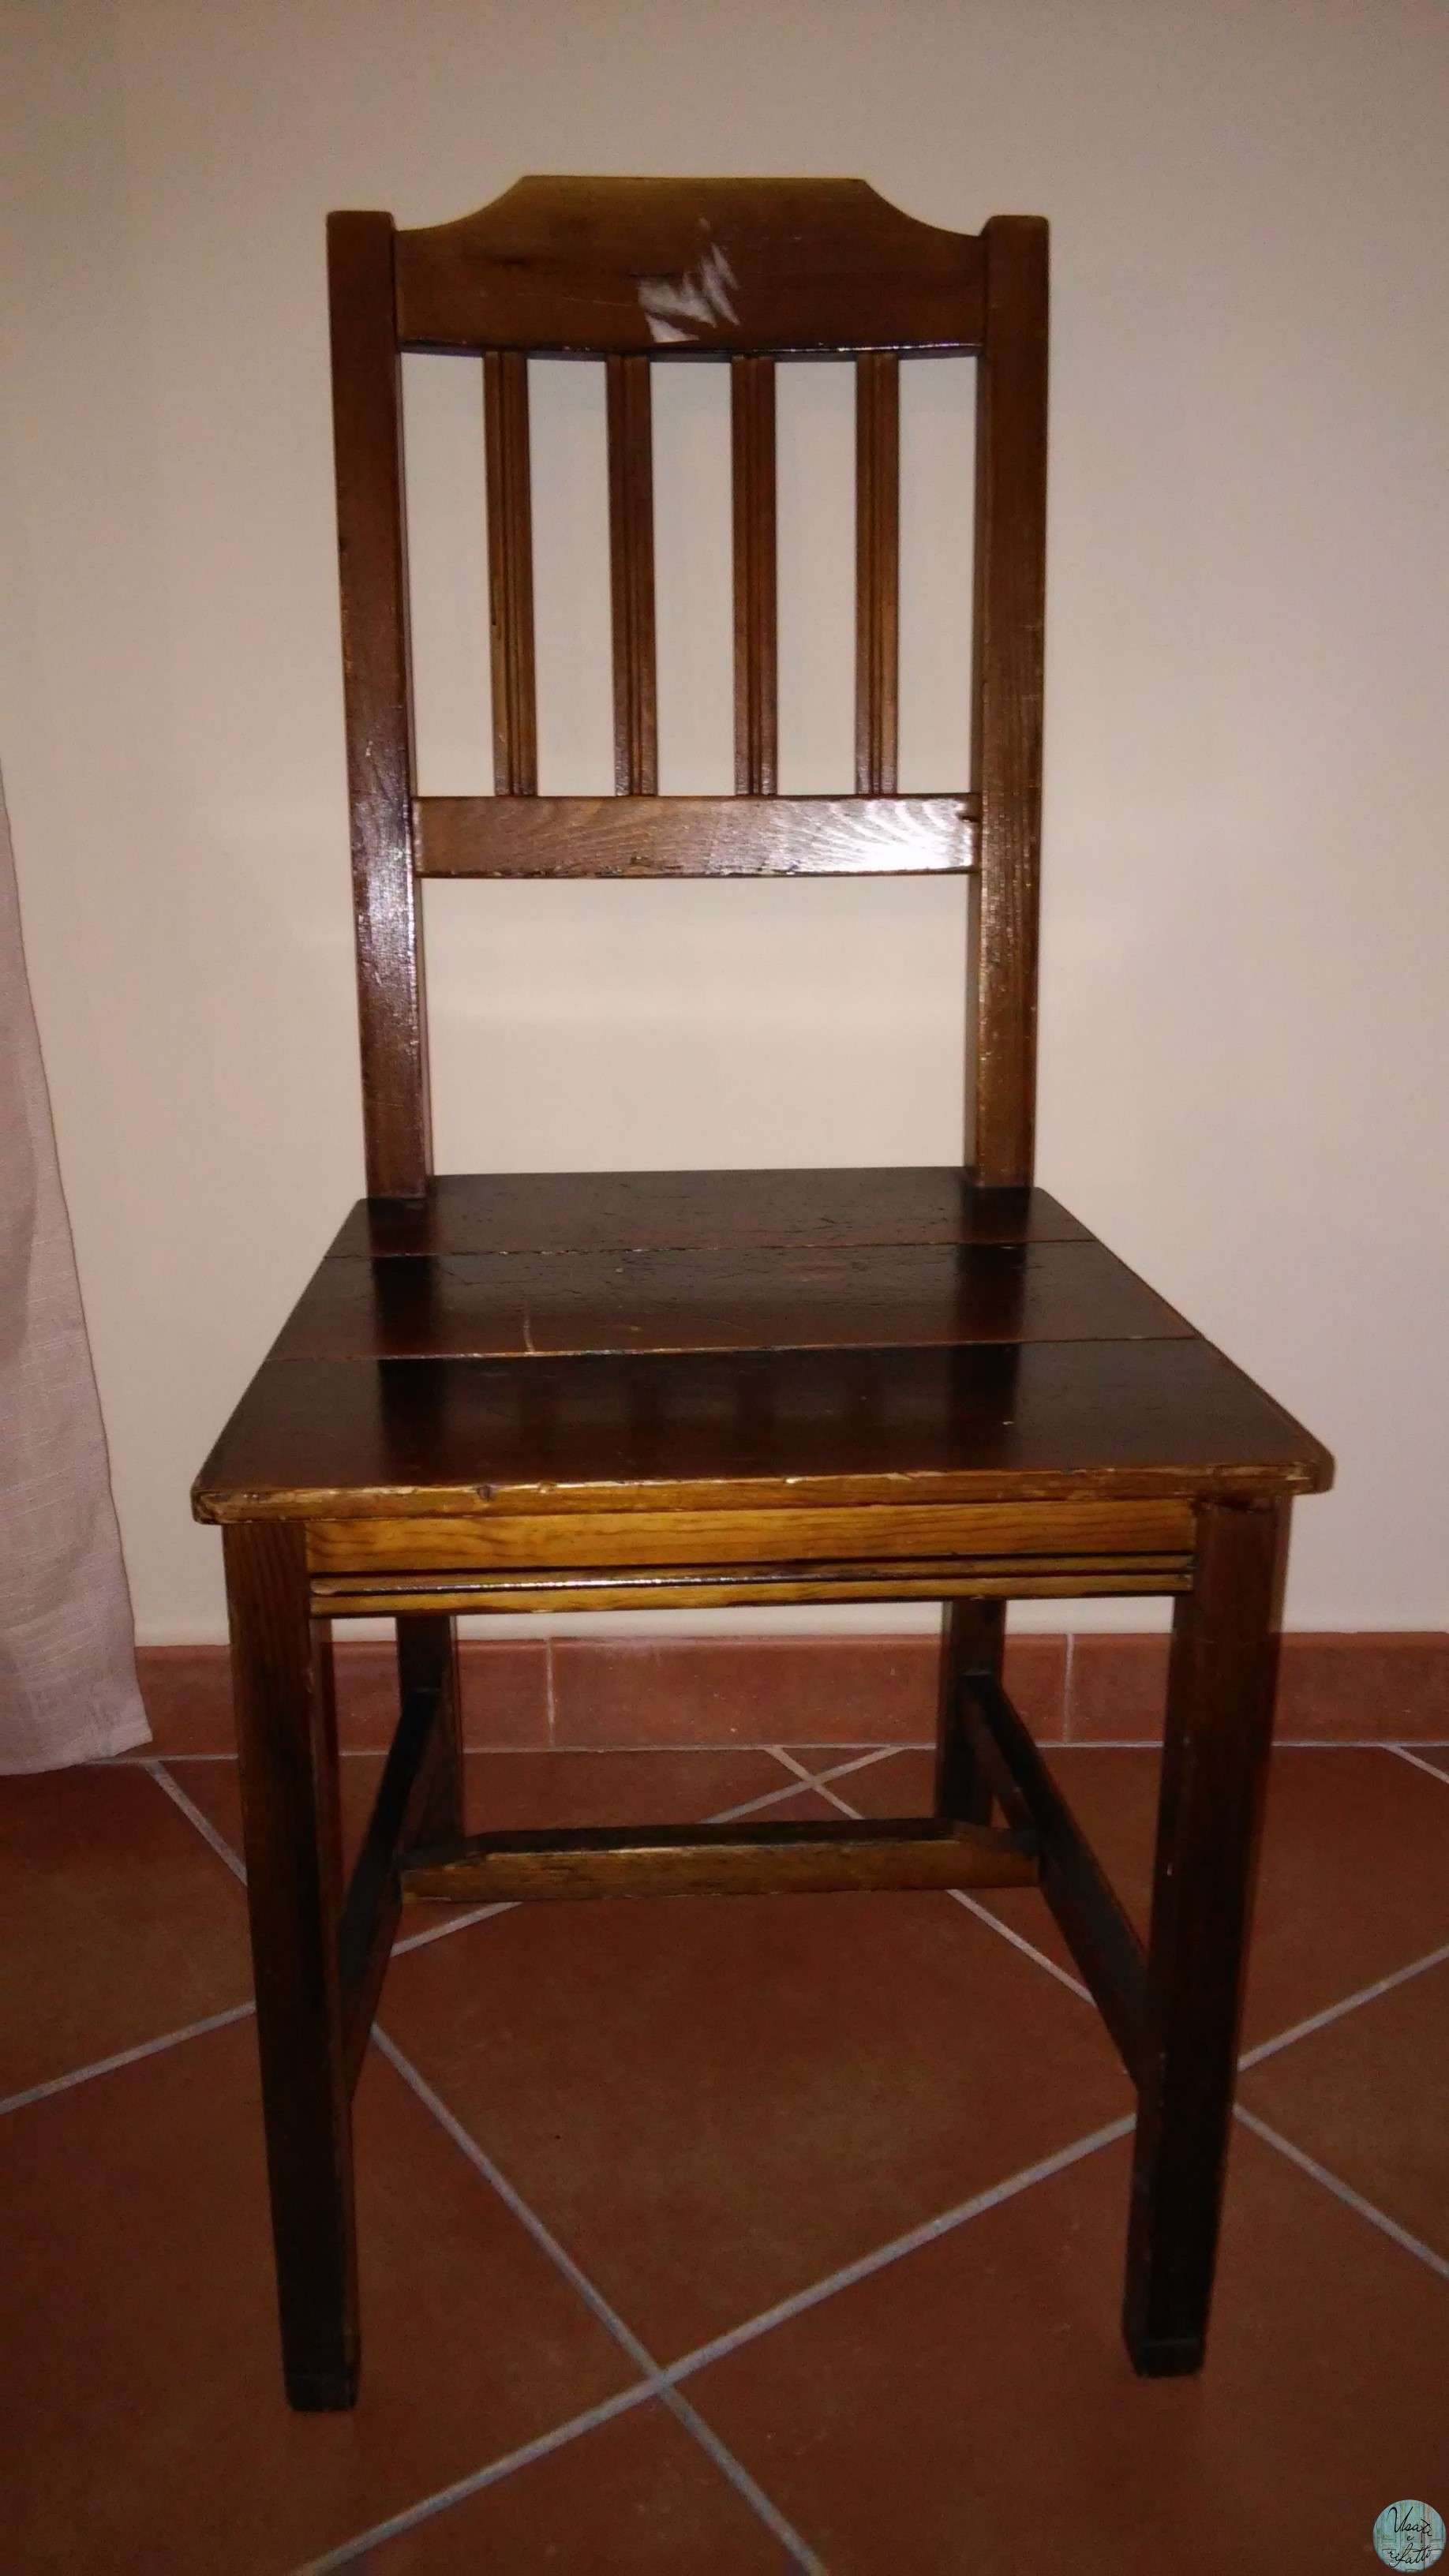
I bought the chairs at a thrift store and the choice was not easy. The budget was really low and used chairs, not marked but totally in wood, are between 10 and 20 Euros.
If you find them less it's better.
My choice was chairs without too many flaws: therefore with a strong enough seat and not damaged, with his feet intact and without holes caused by termites.
I renewed tables, dressers and other but that the chairs were the ones who took me more time ever.
MATERIALS
Now let's see what can use:
- alcohol and patches;
- sander and sandpaper (80, 120, 240);
- Fleur acrylic colors (pack of 50ml, in 5 different colors or as you need). It should be enough one pack for a chair, but it will depend very much on the sanding work you will be performing on your chairs;
- liquid matt wax and waterproof finish (only water paint);
- brushes. One for color, or only one, but remember to wash it thoroughly after use with warm water and mild soap, brush and some more small brushes to handle the details;
- gloves, face mask, suitable clothing.
Finding chairs and the materials, we can start with our work!
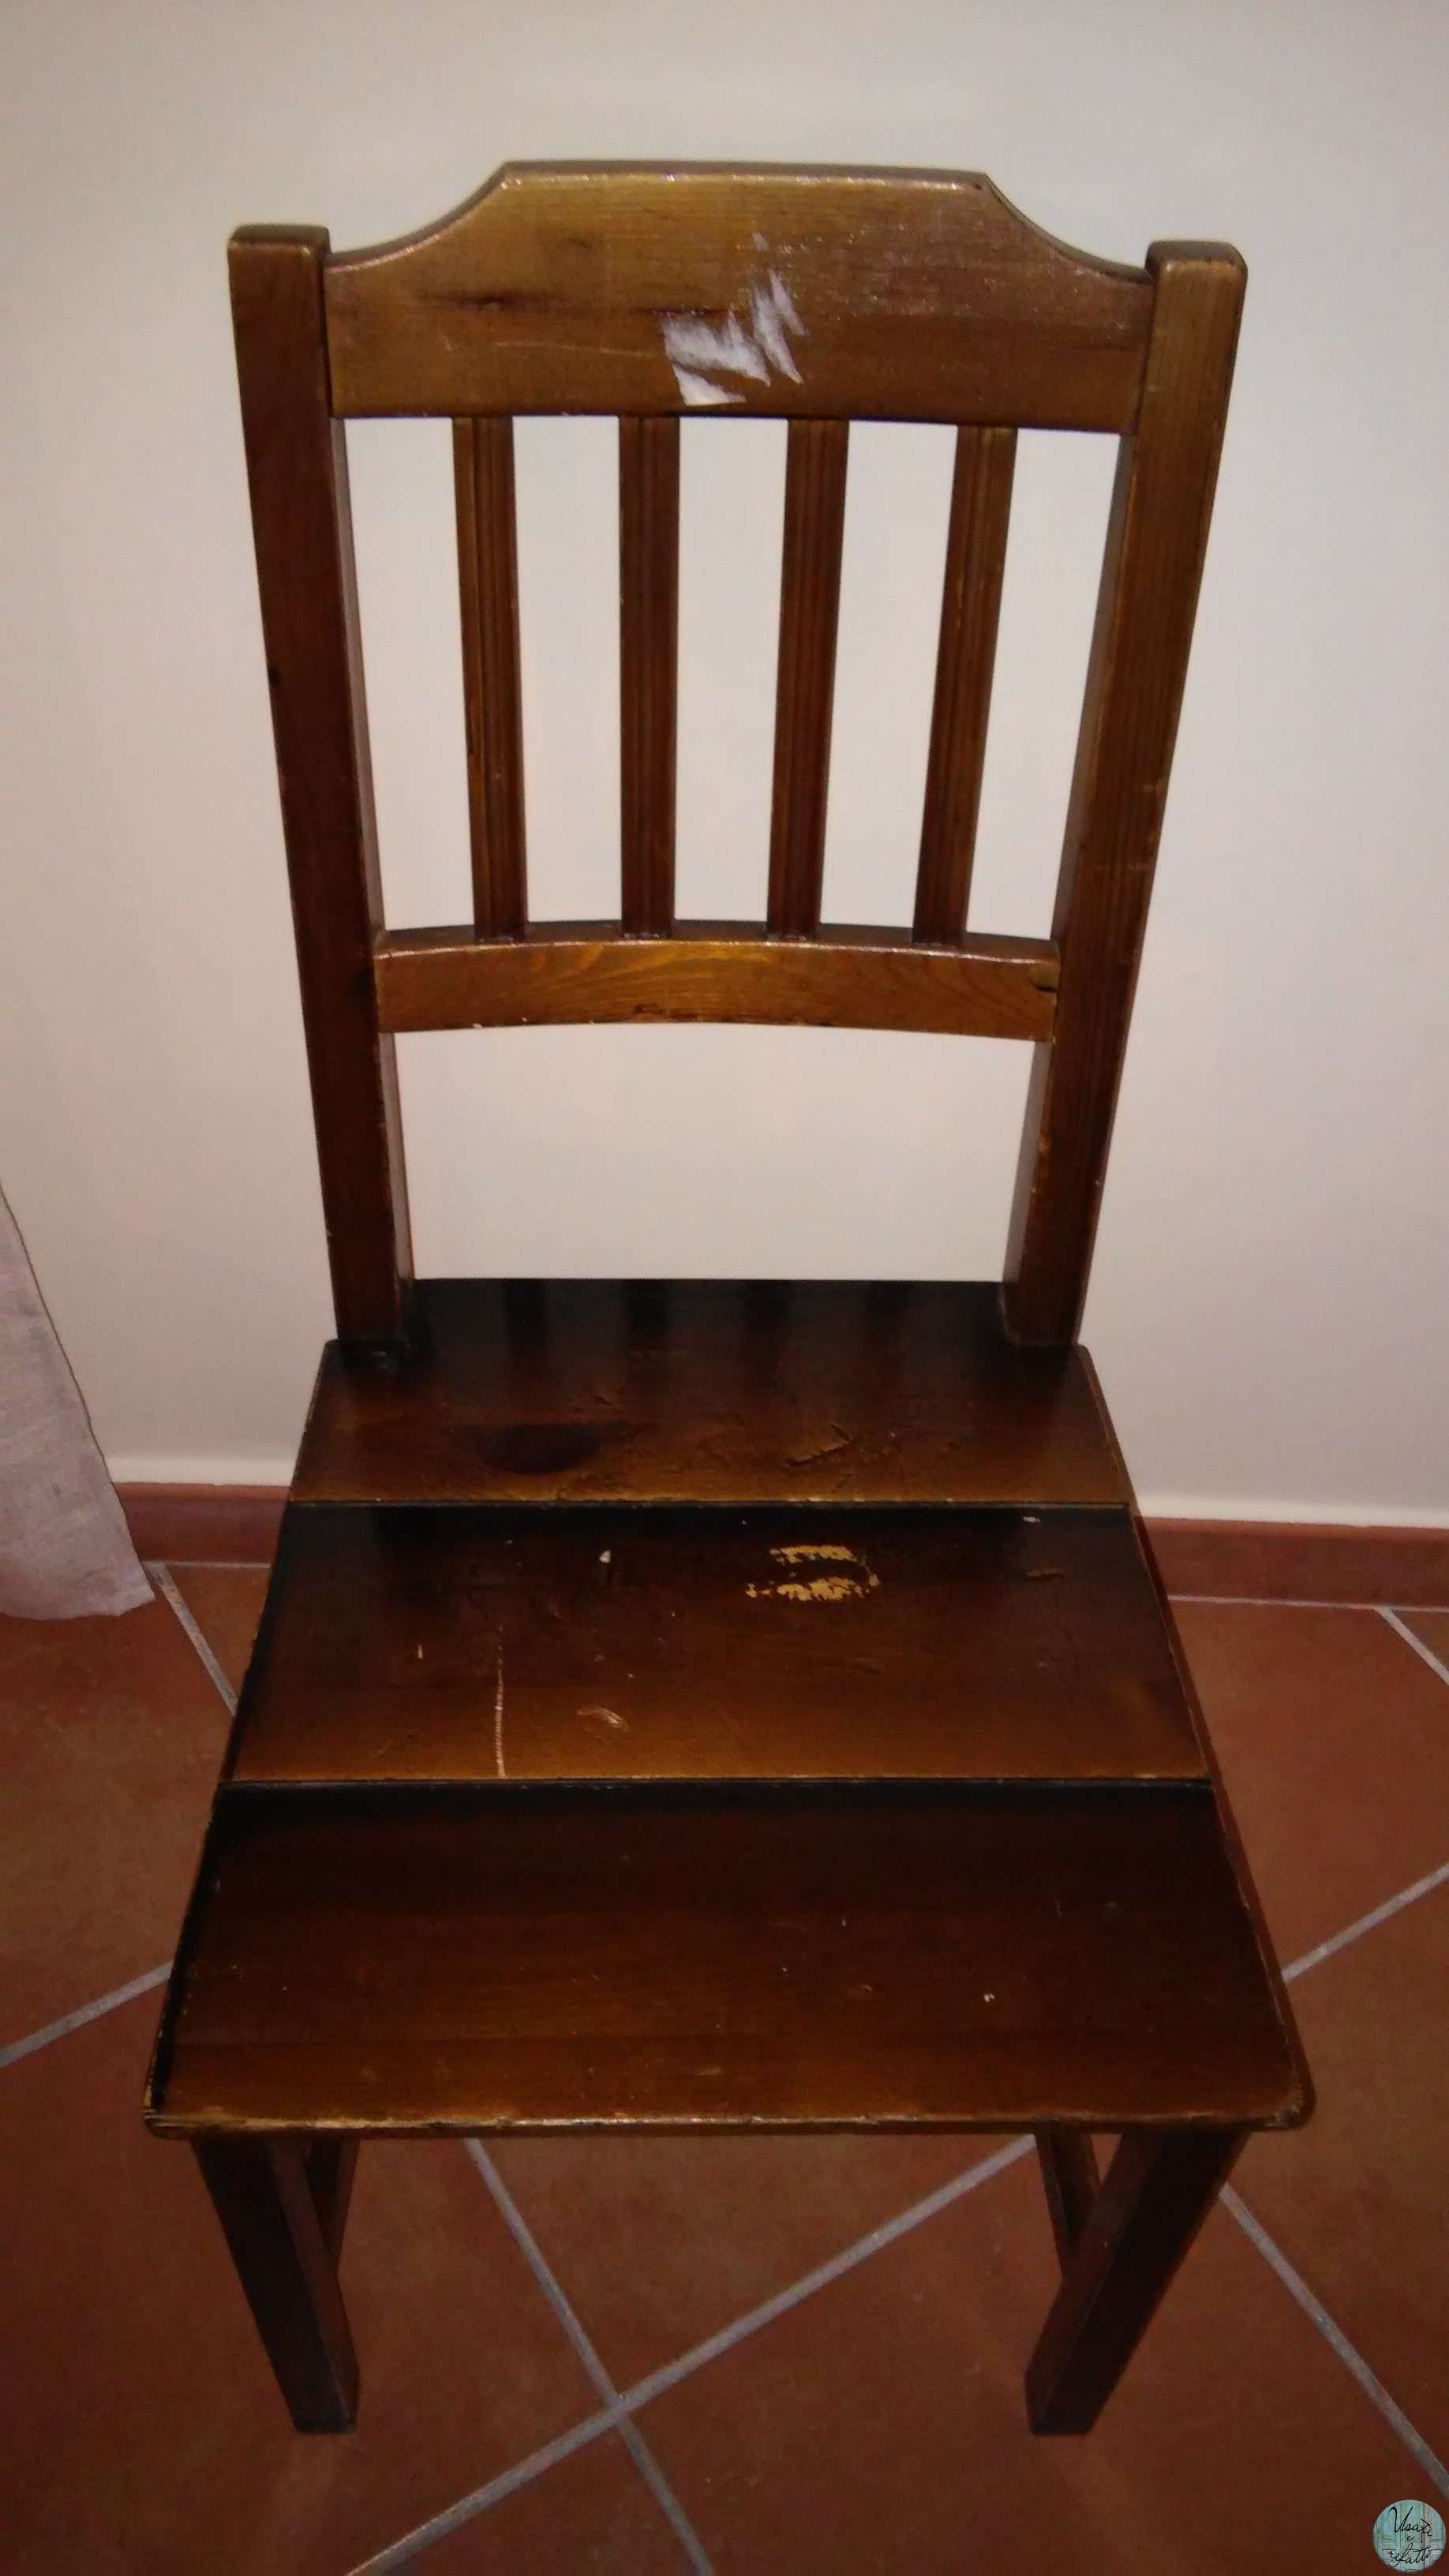
STEP 1: PAINT REMOVAL
Take a cloth soaked in alcohol and pass it on the chair. Clean it thoroughly and if watching the piece it seems there are traces of color continue to pass it insistently. More color can you remove in this way you will make less work later.
Dry the chair with a clean rag.
Take your sander, sandpaper 80, and pass on the seat and at the points where you can reach. Always follow the direction of the wood fibers.
He finished the job with the sander, sandpaper past, more and grain 80, at the points where not manage to arrive.
Removed all the past Paint over the chair of the finer grit sandpaper to prepare the chair to the application of paint (180 is ideal).
If the conditions of the chair allow it, try not to remove nails and / or screws by removing the chairs. If they are very old it will not be easy to match all the pieces again. Among other things before they were used for different screws so you'll replace them if necessary. If there is a need not do it!
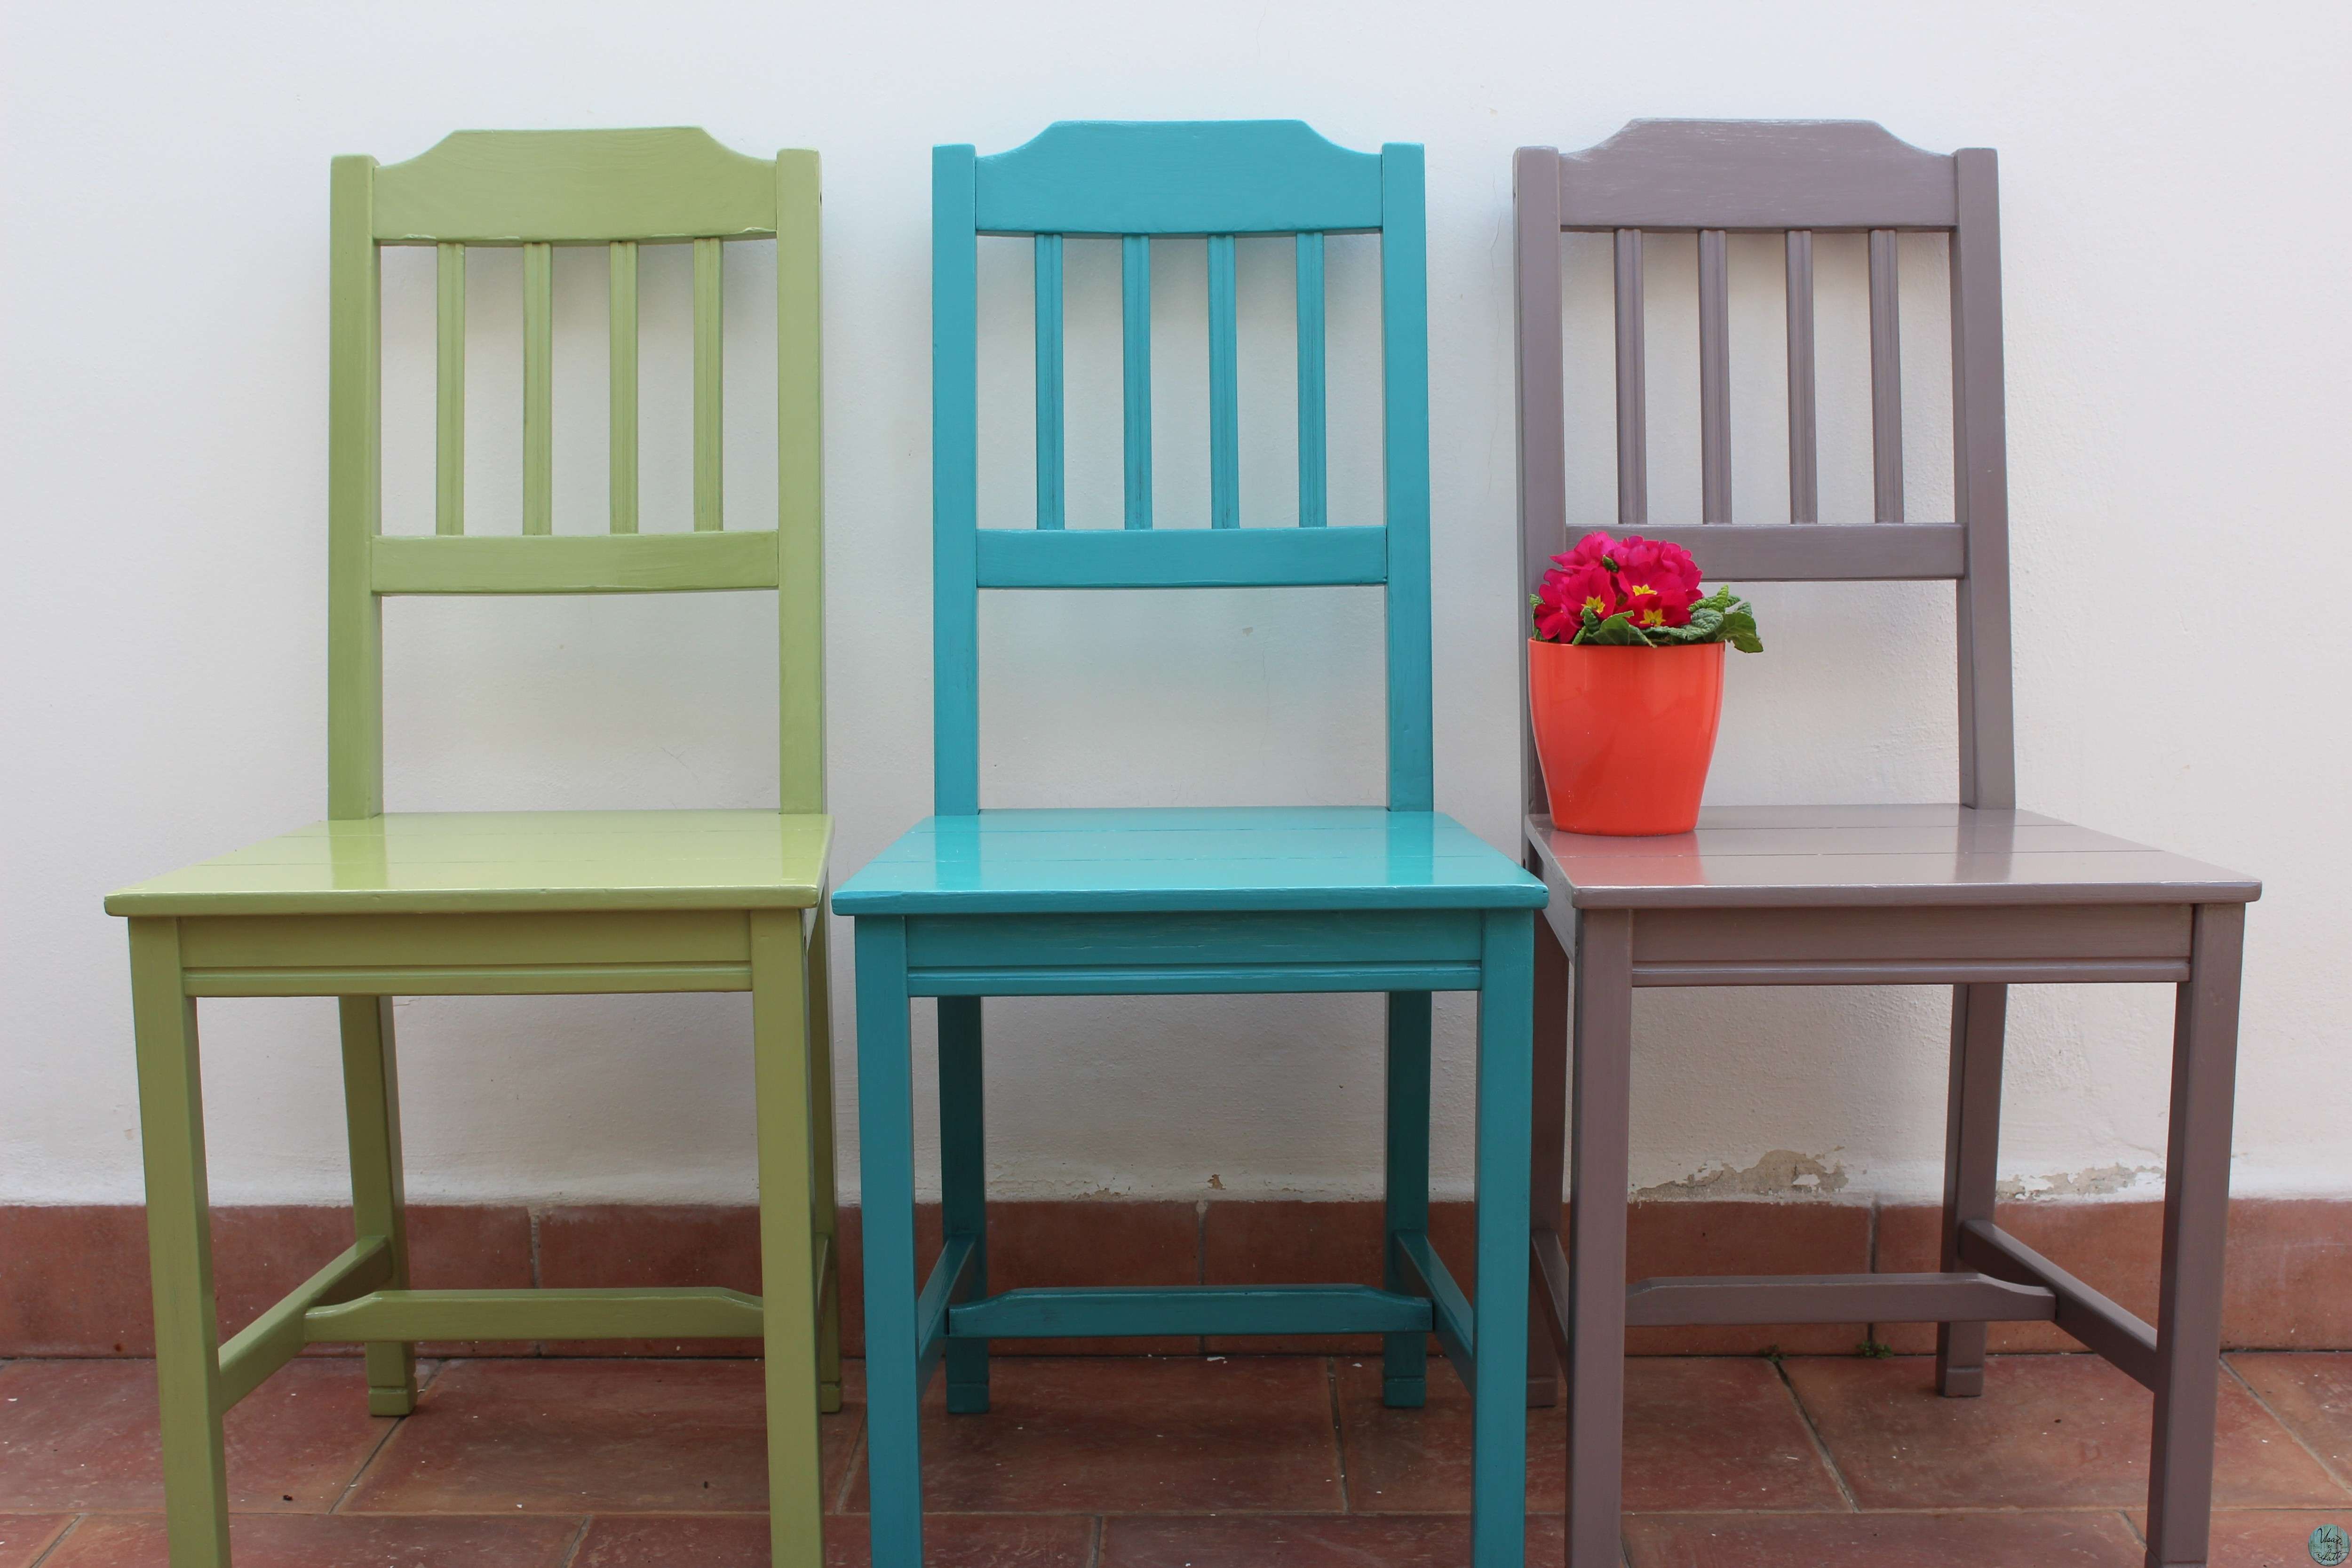
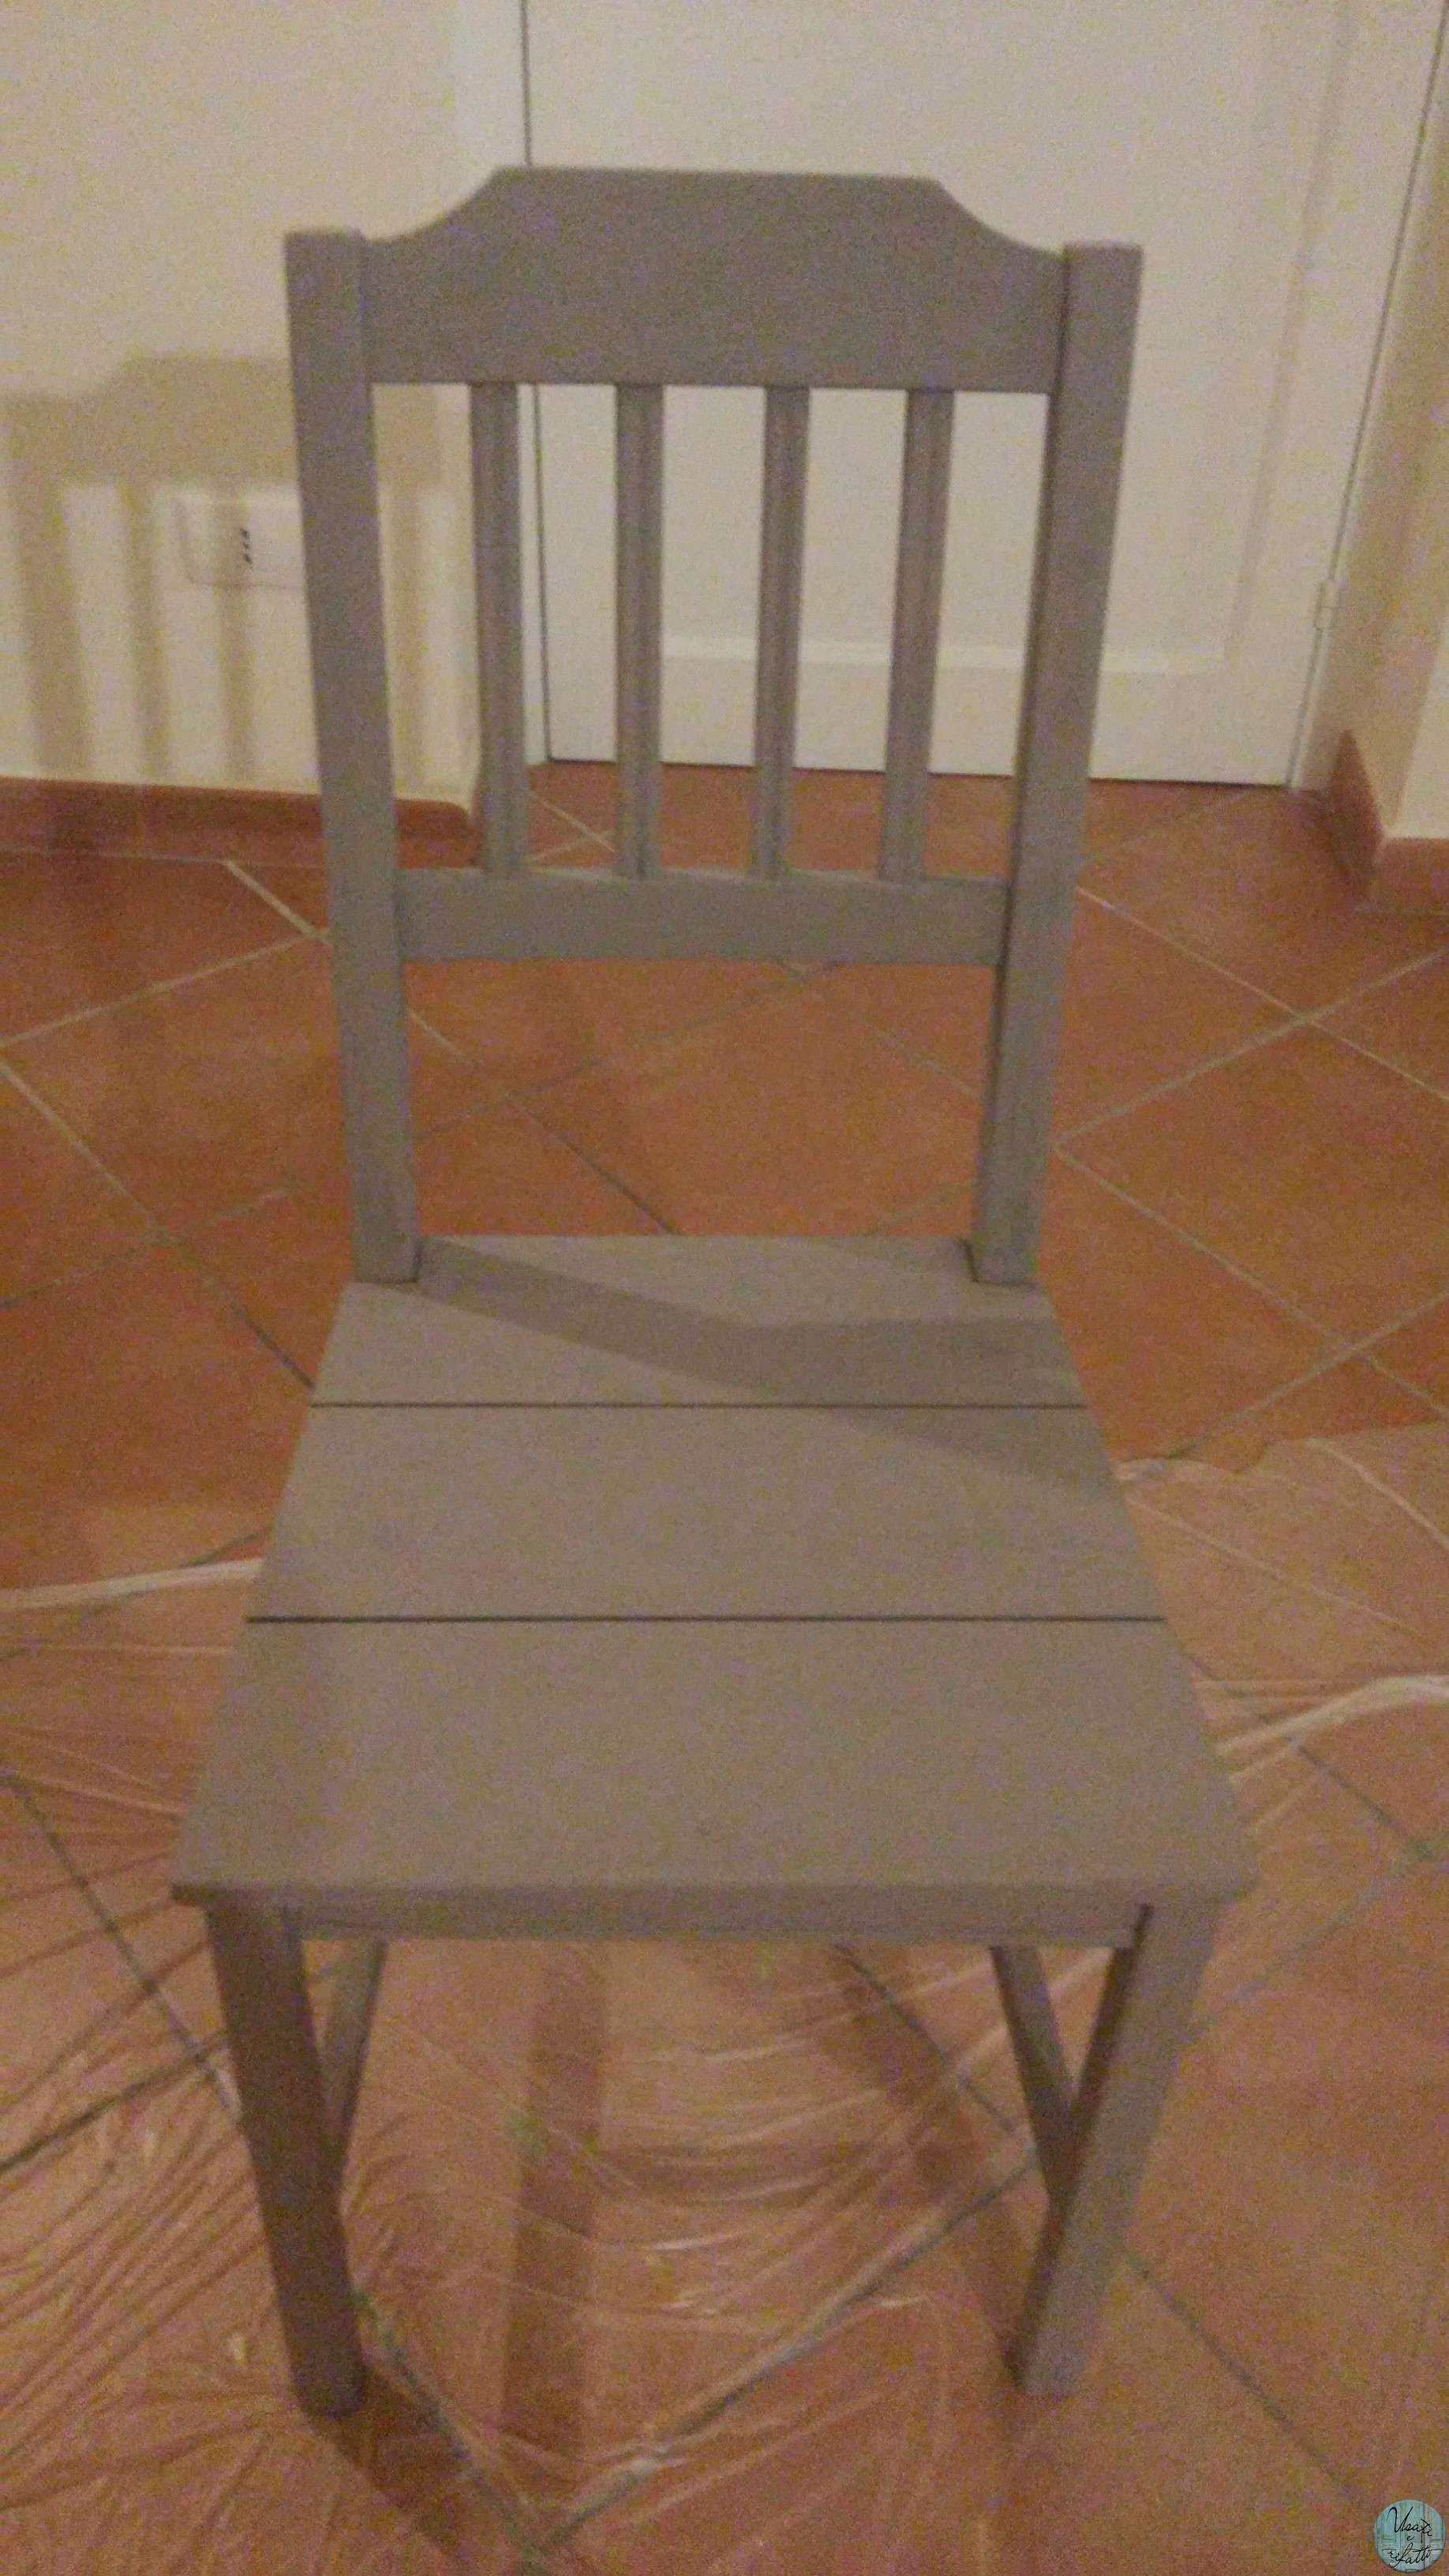
STEP 2: APPLICATION OF COLOUR

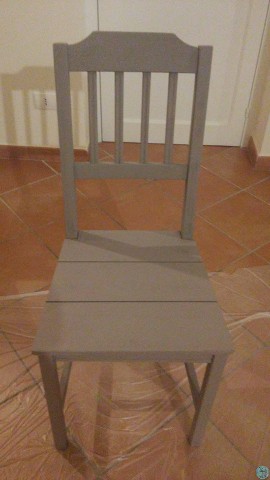 For these chairs I chose the Fleur of acrylic paints. You can be found at any hardware store. For every chair I used a single jar. Paints are very opaque and the effect is really cool.
Begin to move the color on the chair starting from the seat, with a bigger brush, while for other parts you should use smaller brushes, being always aware smudge.
Past two hands for each chair, always respecting the installation times.
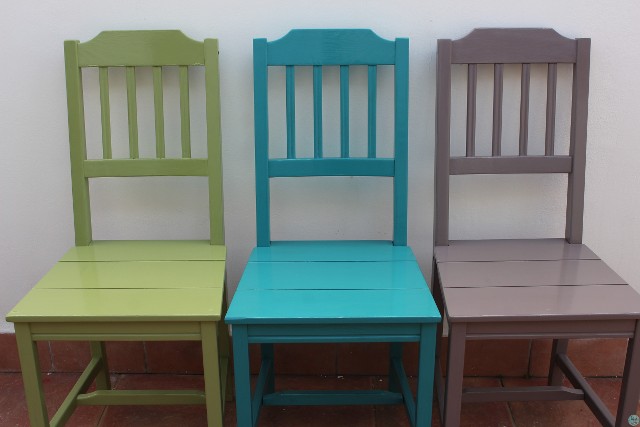
STEP 3: PROTECTIVE APPLICATION
Sand with fine-grained sandpaper, just to remove any burrs.
To protect chairs from the fall of liquids or other, I used a iquid matt wax to finish waterproof effect. If you see that the product is dense enough you can apply on a single hand.
You know how many people have asked me where I bought them? ;-)
Until next time!
0 commenti: