Visualizzazione post con etichetta fleur. Mostra tutti i post

Renew old chairs and turn in beautiful vintage chairs with low budget

RENEW OLD CHAIRS AND TURN THEM IN BEAUTIFUL VINTAGE CHAIRS WITH LOW BUDGET


Here we are with a new project.

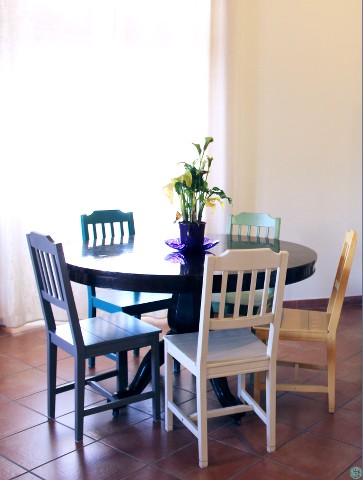
It all started when I made the last move. In the new diving room I had an ancient table (about 800) but I had no chairs!
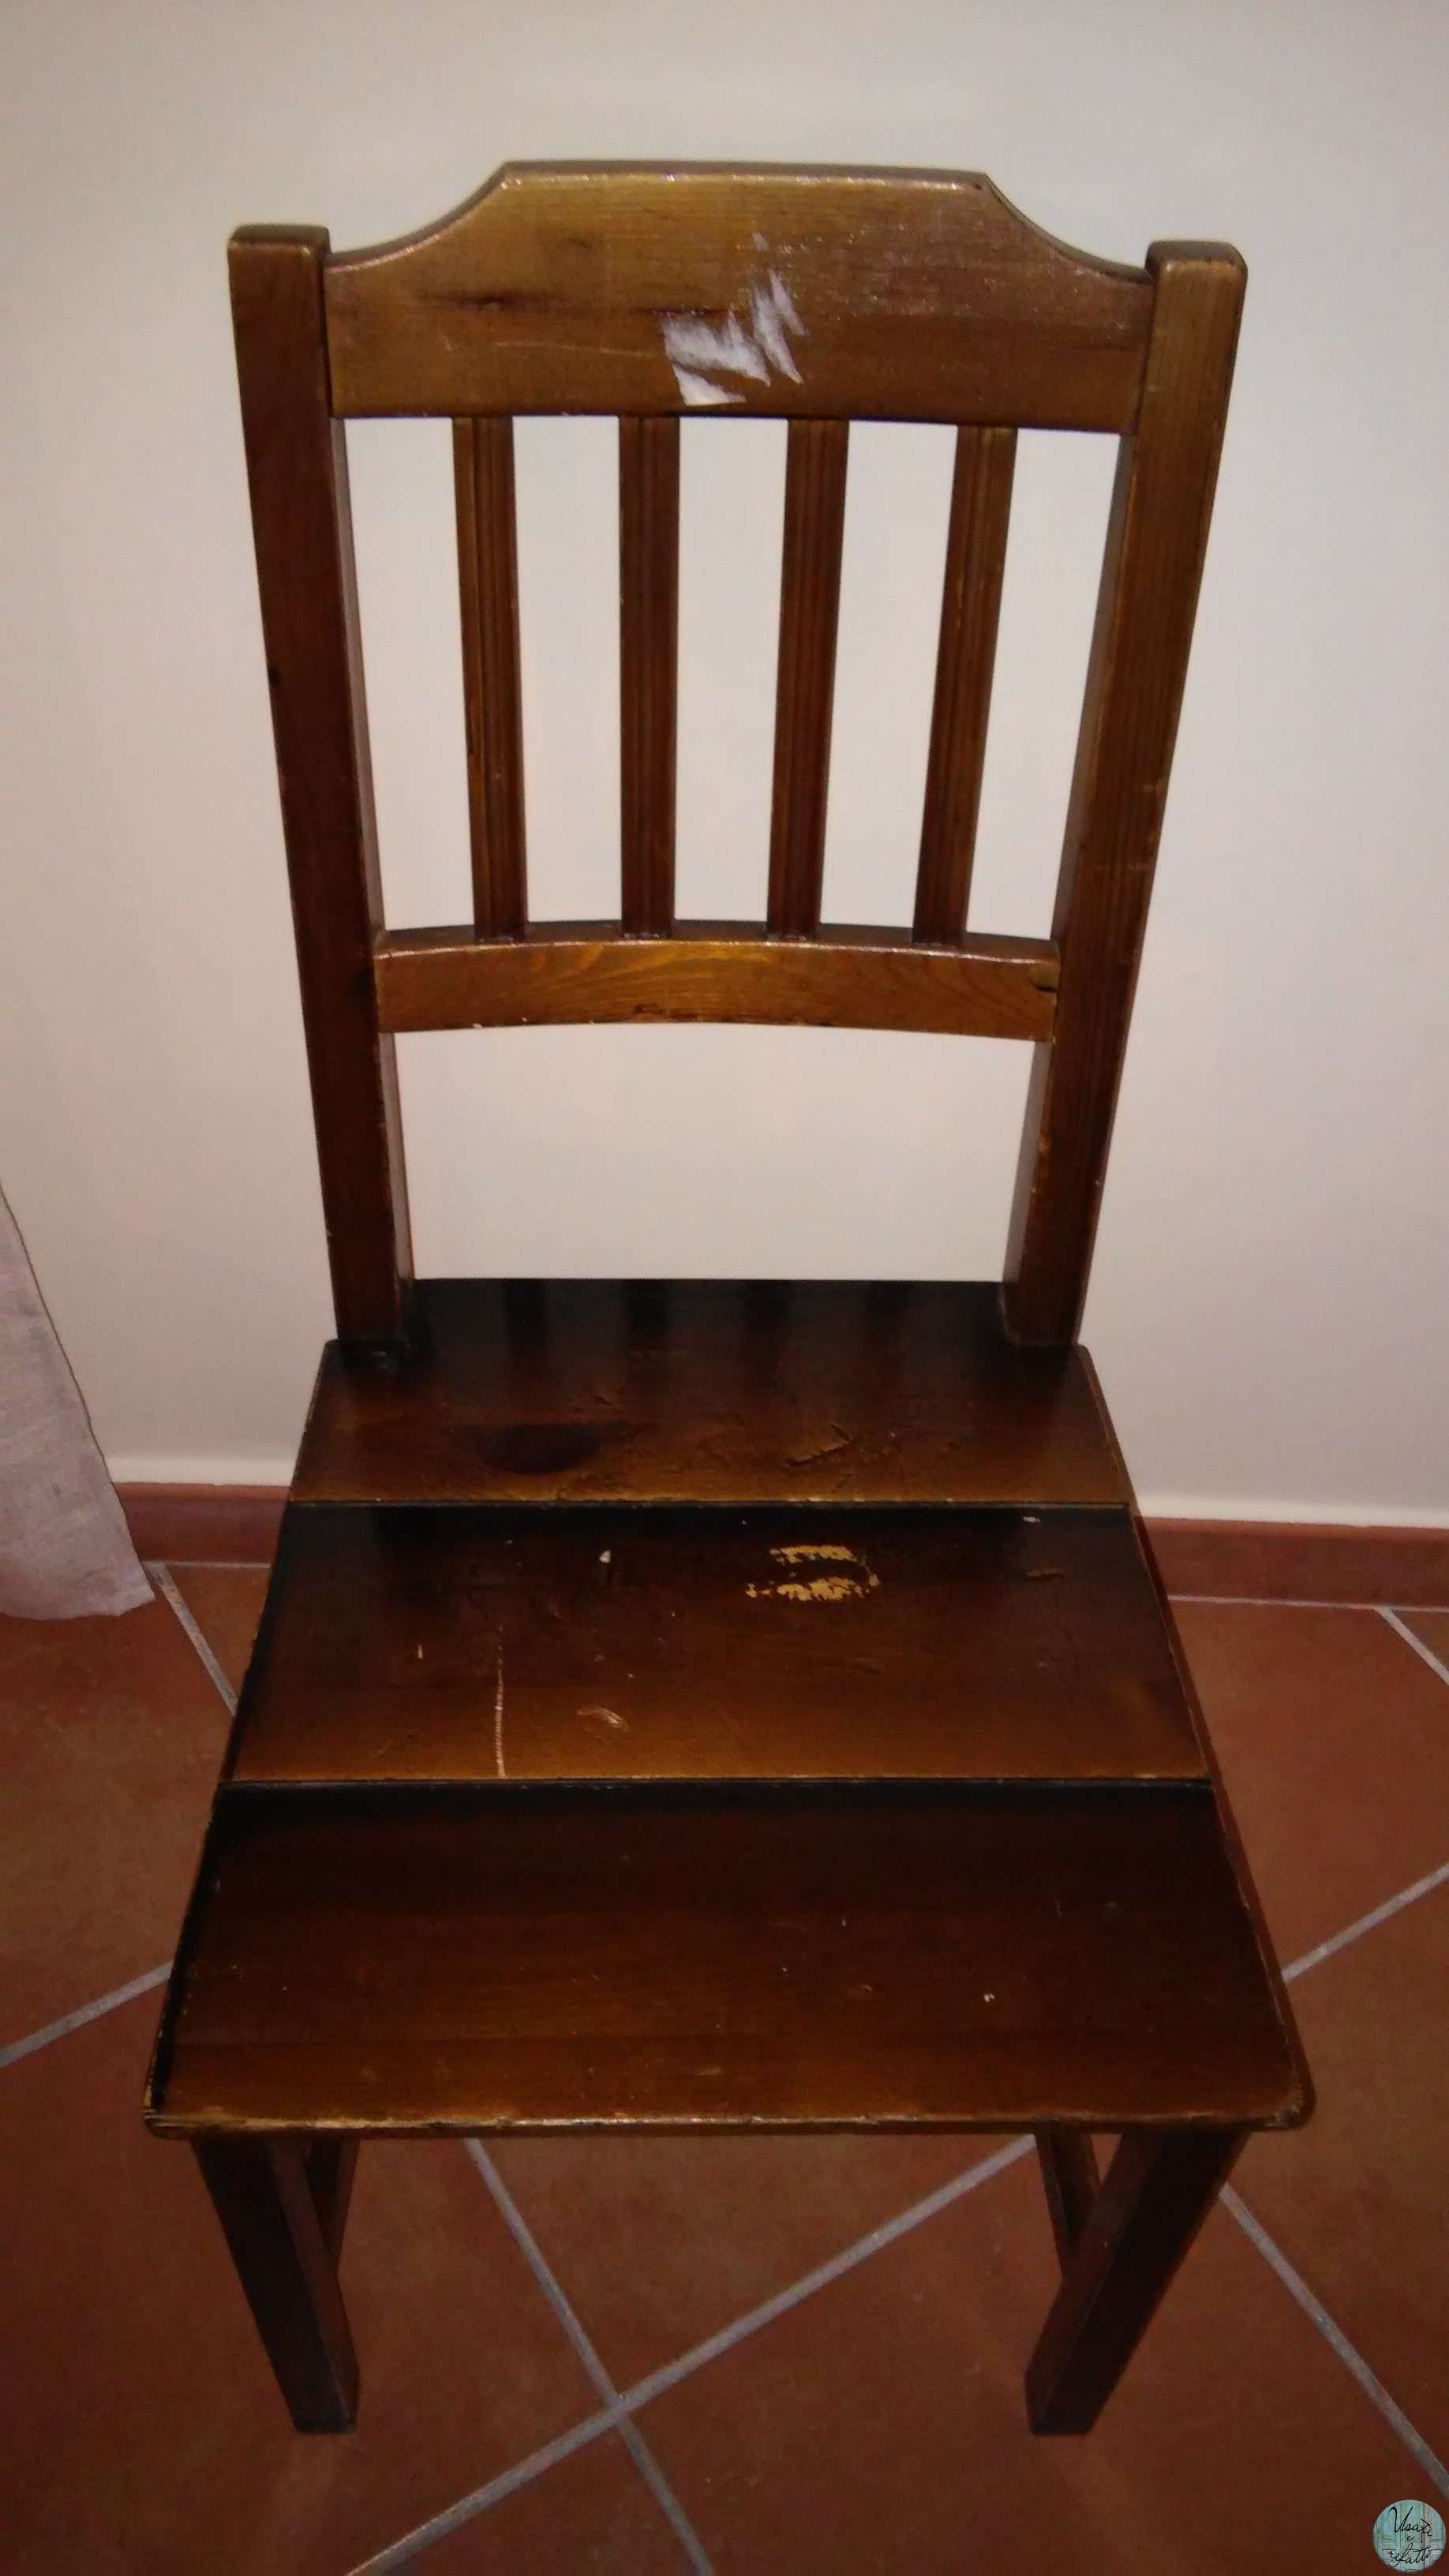
I visited lots of shops, but chairs all have very high cost and the appearance was not always to my liking so I didn't found the right chairs to put around that type of table. Also because the rest of the decor of the room is like "Ikea".
 
Among other things, my idea was to have chairs that was all different soft colors.

Not finding them, I decided that I would try to make them myself.

I bought the chairs at a thrift store and the choice was not easy. The budget was really low and used chairs, not marked but totally in wood, are between 10 and 20 Euros.

If you find them less it's better.

My choice was chairs without too many flaws: therefore with a strong enough seat and not damaged, with his feet intact and without holes caused by termites.
I renewed tables, dressers and other but that the chairs were the ones who took me more time ever.


MATERIALS


Now let's see what can use:
  • alcohol and patches;
  • sander and sandpaper (80, 120, 240);
  • Fleur acrylic colors (pack of 50ml, in 5 different colors or as you need). It should be enough one pack for a chair, but it will depend very much on the sanding work you will be performing on your chairs;
  • liquid matt wax and waterproof finish (only water paint);
  • brushes. One for color, or only one, but remember to wash it thoroughly after use with warm water and mild soap, brush and some more small brushes to handle the details;
  • gloves, face mask, suitable clothing.
Finding chairs and the materials, we can start with our work!

STEP 1: PAINT REMOVAL


Take a cloth soaked in alcohol and pass it on the chair. Clean it thoroughly and if watching the piece it seems there are traces of color continue to pass it insistently. More color can you remove in this way you will make less work later.
Dry the chair with a clean rag.
Take your sander, sandpaper 80, and pass on the seat and at the points where you can reach. Always follow the direction of the wood fibers.
He finished the job with the sander, sandpaper past, more and grain 80, at the points where not manage to arrive.
Removed all the past Paint over the chair of the finer grit sandpaper to prepare the chair to the application of paint (180 is ideal).
If the conditions of the chair allow it, try not to remove nails and / or screws by removing the chairs. If they are very old it will not be easy to match all the pieces again. Among other things before they were used for different screws so you'll replace them if necessary. If there is a need not do it!

STEP 2: APPLICATION OF COLOUR


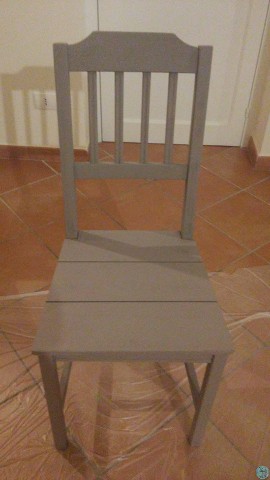
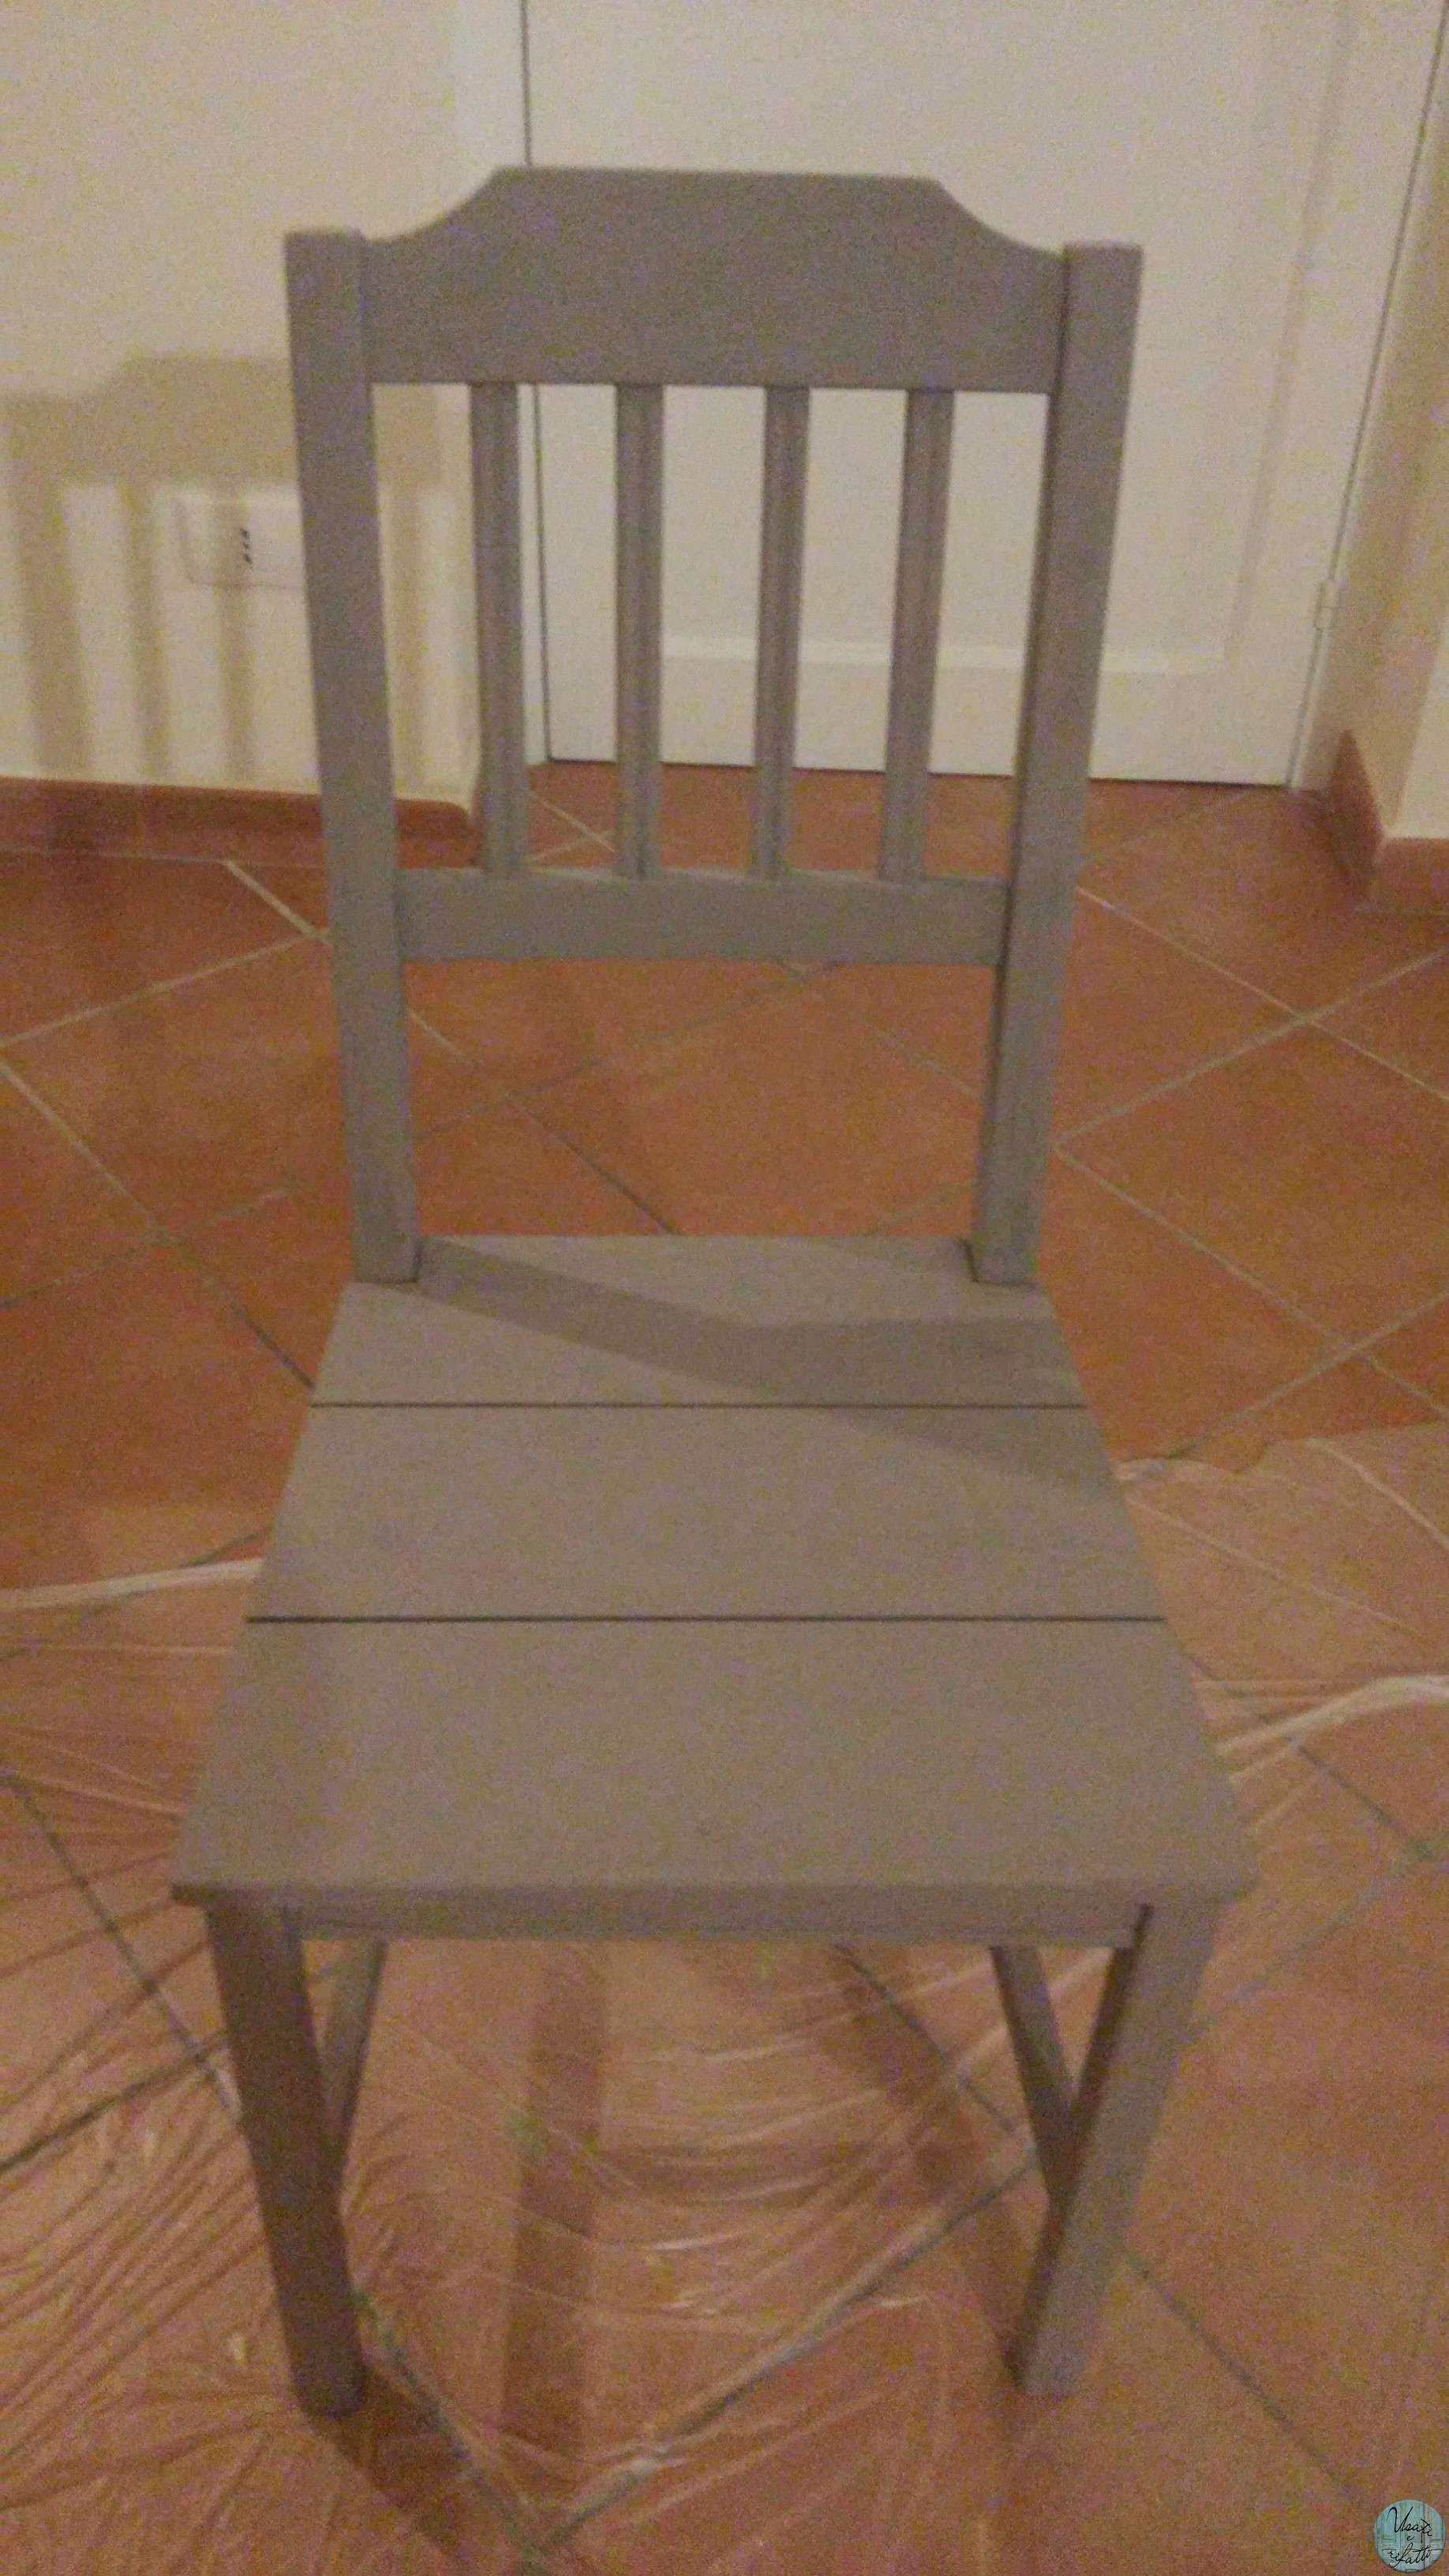
For these chairs I chose the Fleur of acrylic paints. You can be found at any hardware store. For every chair I used a single jar. Paints are very opaque and the effect is really cool.

Begin to move the color on the chair starting from the seat, with a bigger brush, while for other parts you should use smaller brushes, being always aware smudge.
  
Past two hands for each chair, always respecting the installation times.


STEP 3: PROTECTIVE APPLICATION

Sand with fine-grained sandpaper, just to remove any burrs.
To protect chairs from the fall of liquids or other, I used a iquid matt wax to finish waterproof effect. If you see that the product is dense enough you can apply on a single hand.
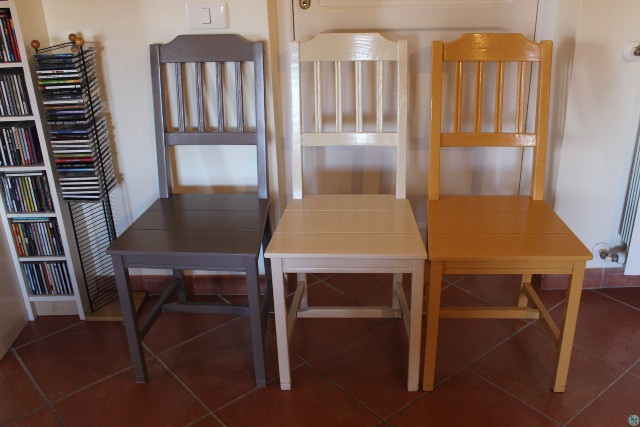
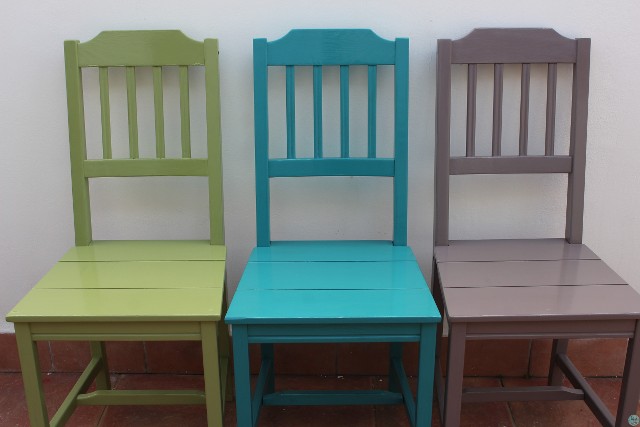
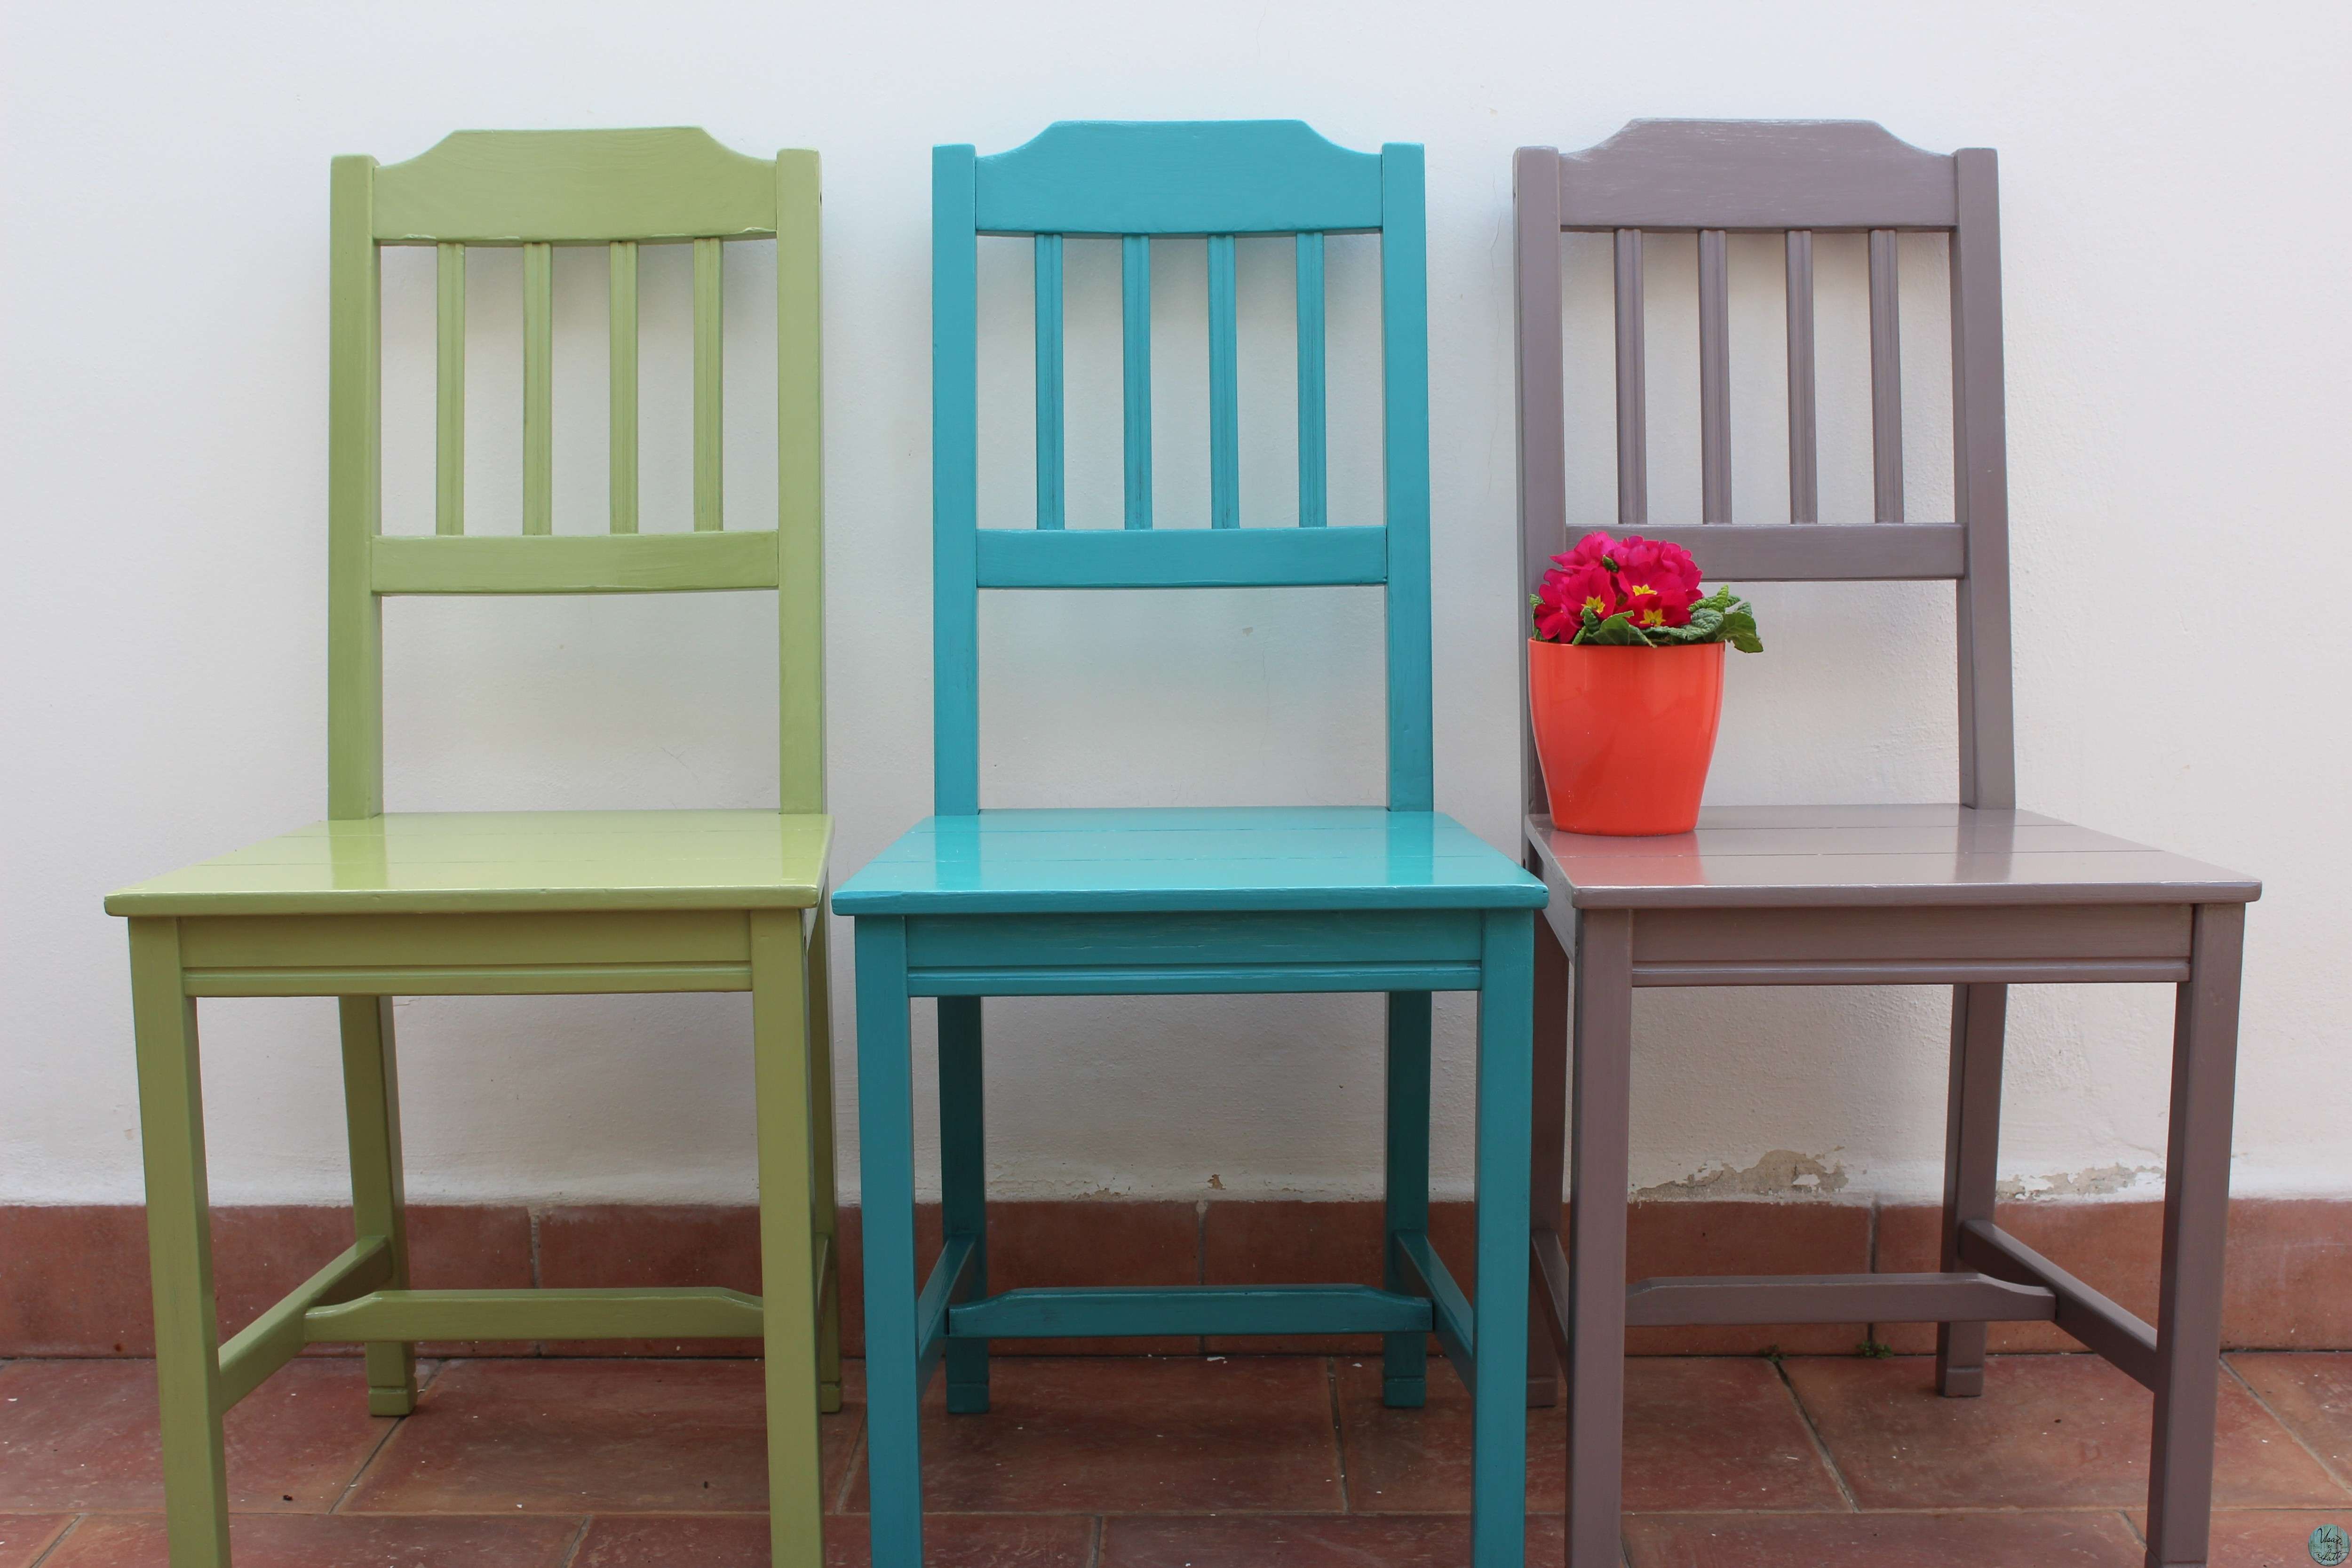
The initial effect will be very shiny, as you see in the picture, but it will go away as soon as it has dried thoroughly.


Let it dry, and you're done.
You know how many people have asked me where I bought them? ;-)

Until next time!


Rinnovare delle vecchie sedie

RINNOVARE DELLE VECCHIE SEDIE E TRASFORMARLE CON UN BUDGET BASSO

Restauro trasformazione sedia vintage finitura cerata
 
Eccoci con un nuovo progetto.

Tutto è nato quando ho fatto l'ultimo trasloco. Nel nuovo salotto dovevo mettere un tavolo dell'800 color mogano ma non avevo delle sedie da abbinargli! 
Ho girato tantissimi negozi, ma tra i costi veramente alti e l'aspetto che non sempre era di mio gradimento non sono riuscita a trovare delle sedie da accostare a quel tipo di tavolo. Anche perchè il resto dell'arredamento della stanza è di Ikea.
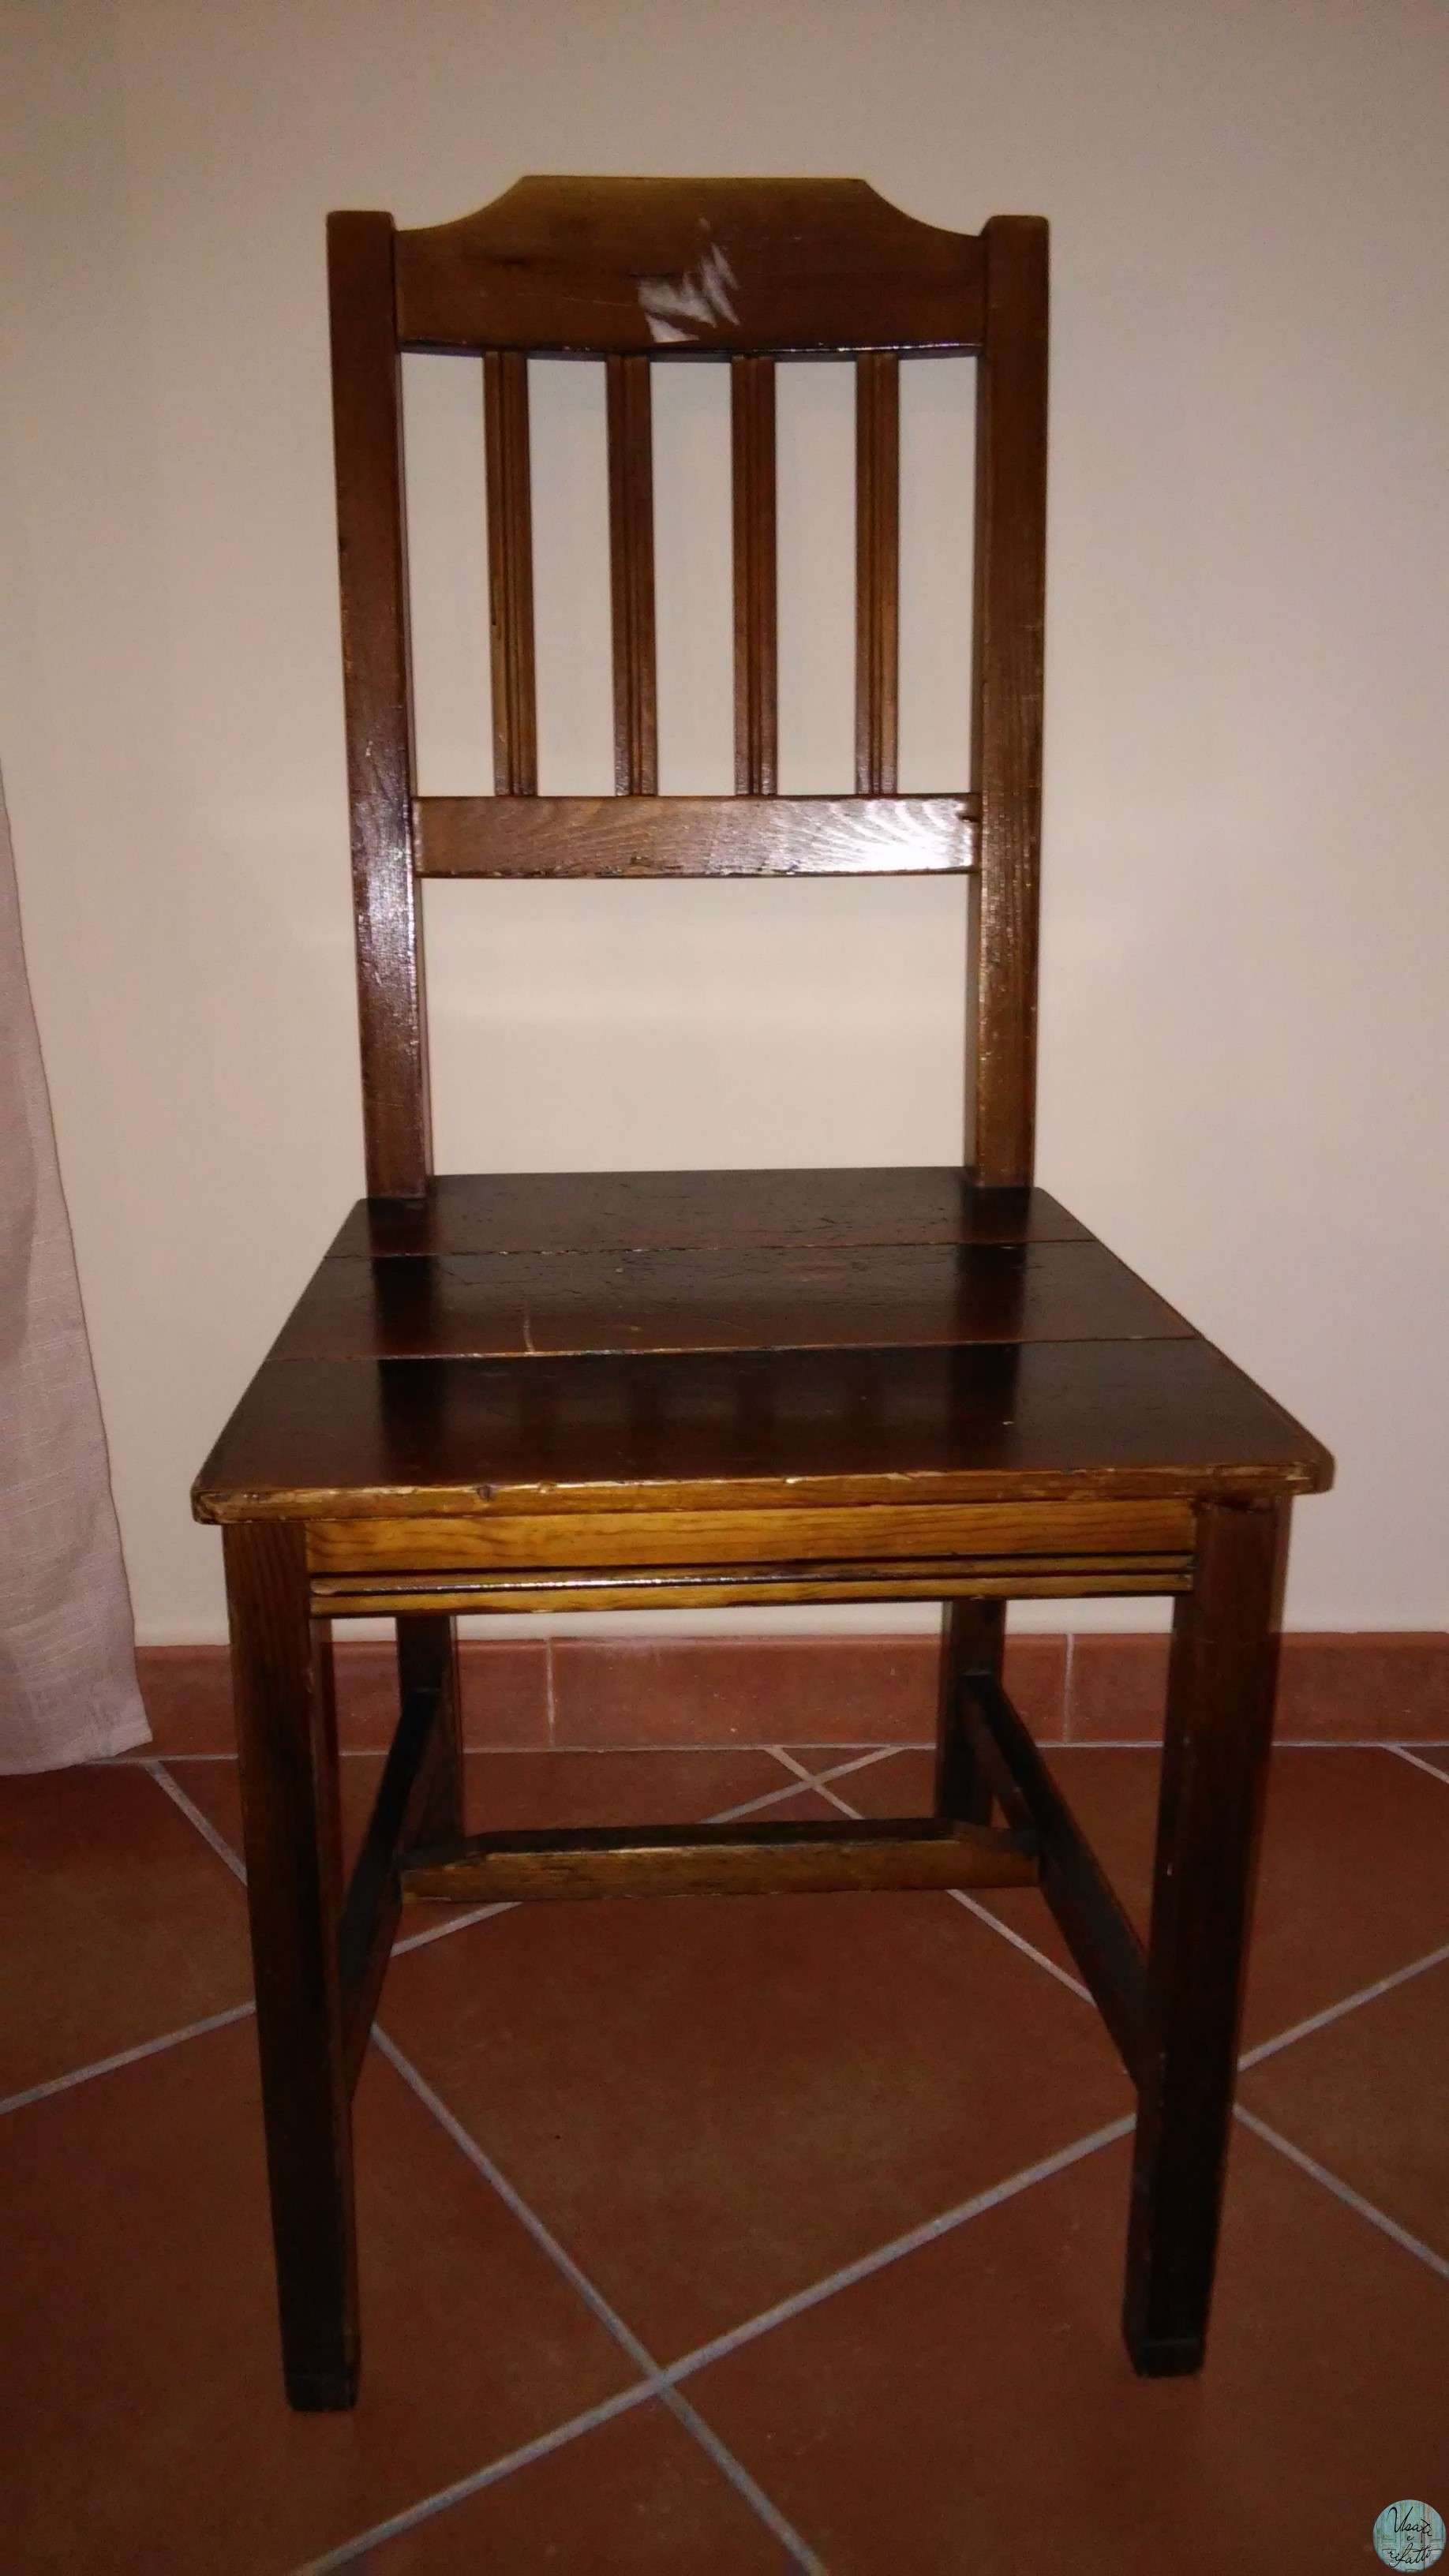
sedia vintage prima della trasformazione restauro Tra l'altro la mia idea era quella di accostare delle sedie che avessero dei colori tenui tutti differenti tra loro.

Non trovandole ho deciso che avrei provato a farle da sola.
sedia vintage prima della trasformazione restauro Ho acquistato le sedie in un negozio dell'usato e la scelta non è stata per niente facile. Il budget era veramente basso e i prezzi delle sedie usate, non di marca ma totalmente in legno, si aggirano tra i 10 e i 20 euro. 

Se le trovate a meno ancora meglio.

La mia scelta è così ricaduta su delle sedie senza troppi difetti: quindi con una seduta abbastanza resistente e non rovinata, con i piedi integri e senza buchi causati dai tarli.
 
Ho trasformato tavoli, cassettiere, tavolini ma vi assicuro che le sedie sono state quelle che mi hanno preso più tempo in assoluto.

I MATERIALI 

A questo punto vediamo cosa può servirvi: 

  • alcol e pezze
  • levigatrice e carta vetrata a grana 80 - 120 - 240
  • colori acrilici Fleur (confezione da 50ml, in 5 diversi colori o quanti ve ne servono). Dovrebbe bastare una confezione per sedia, ma dipenderà molto dal lavoro di levigatura che andrete ad effettuare sulle vostre sedie.
  • cera liquida di finitura opaca ed impermeabile (ad acqua)
  • pennelli. Uno per colore, o uno solo, ma ricordate di lavarlo per bene dopo l'uso con acqua calda e sapone neutro, e qualche pennello da ritocco più piccolo per curare i dettagli.
  • guanti, mascherina di protezione, abbigliamento idoneo 

Trovate le sedie e i materiali, possiamo iniziare con il nostro lavoro!

FASE 1: RIMOZIONE DELLE VERNICI


Prendete una pezza imbevuta di alcool e passatela sulla sedia. Pulitela per bene e se guardando la pezza vi sembra vi siano tracce di colore continuate a passarla con insistenza. Più colore riuscite a togliere in questo modo meno fatica farete in seguito.

Asciugate la sedia con una pezza pulita.

Prendete la vostra levigatrice, carta vetrata grana 80, e passatela sulla seduta e nei punti in cui riuscite ad arrivare. Seguite sempre la direzione delle fibre del legno.
Finito il lavoro con la levigatrice, passate la carta vetrata, sempre grana 80, nei punti in cui non riuscivate ad arrivare.

Rimossa tutta la vernice passate su tutta la sedia della carta vetrata a grana più fine, per preparare la sedia all'applicazione della vernice (180 è l'ideale).

Se le condizioni della sedia lo consentono, cercate di non rimuovere chiodi e/o viti presenti smontando le sedie. Se sono molto vecchie non sarà facile far combaciare nuovamente tutti i pezzi. Tra l'altro prima venivano usate delle viti differenti quindi dovrete eventualmente sostituirle. Se non vi è la necessità non fatelo!

FASE 2: APPLICAZIONE DEL COLORE

Restauro trasformazione sedia vintage colori acrilici Fleur tortora
Per queste sedie ho scelto delle vernici acriliche della Fleur. Le trovate in qualunque ferramenta. Per ogni sedia ho utilizzato un solo barattolo. Sono delle vernici molto coprenti e l'effetto è davvero fantastico.

Iniziate a passare il colore sulla sedia partendo dalla seduta, con un pennello più grande, mentre per le altri parti vi conviene utilizzare dei pennelli più piccoli, stando sempre attenti alle sbavature.
  
Passate due mani per ogni sedia, rispettando sempre i tempi di posa.
 Restauro trasformazione sedia vintage colori acrilici Fleur verde acidoRestauro trasformazione sedia vintage colori acrilici Fleur azzurro

FASE 3: APPLICAZIONE PROTETTIVO 


Carteggiate con carta vetrata a grana molto fine, solo per rimuovere eventuali sbavature.

Per proteggere le sedie dall'usura e dalla caduta di possibili liquidi, ho utilizzato una finitura cerata ad effetto satinato e impermeabile. Se vedete che il prodotto è abbastanza denso potete passare una singola mano. 
L'effetto iniziale sarà molto lucido, come vedete nella foto, ma andrà via non appena si sarà asciugata per bene.

Restauro trasformazione sedia vintage finitura cerata Restauro trasformazione sedia vintage finitura cerata
Restauro trasformazione sedia vintage finitura cerataRestauro trasformazione sedia vintage finitura cerata   


Restauro trasformazione sedia vintage finitura cerata Restauro trasformazione sedia vintage finitura cerata

Fate asciugare, ed il gioco è fatto.
Sapete quante persone mi hanno chiesto dove le avessi acquistate? ;-)

Alla prossima!